As winter gives way to warmer weather in Orange County, spring is the perfect time to perform essential home maintenance tasks. You can keep your home in excellent condition by proactively addressing potential issues early. Here are 10 Home Maintenance Tips for Spring in Orange County.
Inspect Your Roof
Spring is an excellent time to examine your roof for any signs of damage caused by winter weather. Look for missing or damaged shingles, leaks, or other wear and tear that might need repair.

10 Home Maintenance Tips for Spring
Clean and Inspect Gutters and Downspouts
Clogged gutters can lead to water damage in your home. Clear out debris and ensure your downspouts direct water away from your home’s foundation.
Check Exterior Paint and Siding
Inspect your home’s exterior paint and siding for chipping, fading, or peeling. A fresh coat of paint can help protect your home from the elements and maintain its curb appeal.
Service Your HVAC System
Spring is the best time to have your HVAC system serviced and maintained. This ensures it’s ready to keep your home cool during the hot Orange County summer.
Trim Trees and Shrubs
Overgrown trees and shrubs can damage your home and obstruct views. Trim them back to maintain a neat appearance and prevent potential damage to your property.
Inspect Windows and Doors
Check for drafts, cracks, or damaged seals around windows and doors. Proper sealing can improve energy efficiency and keep your home comfortable.
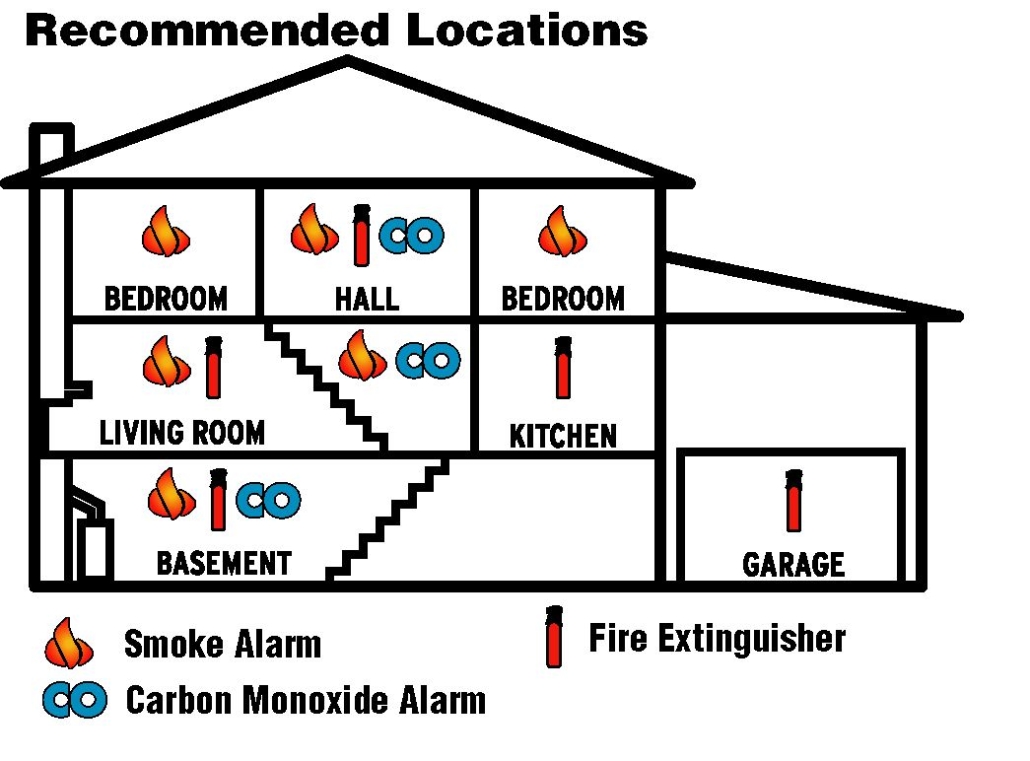
Test Smoke and Carbon Monoxide Detectors
Spring is an ideal time to test and replace batteries in your smoke and carbon monoxide detectors. These essential safety devices should always be in good working order.
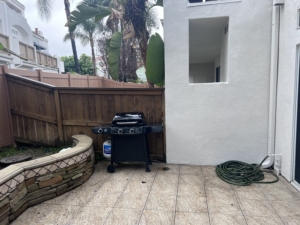
Prepare Your Outdoor Space
Ready your outdoor living areas for the spring and summer seasons. Clean patios and decks, check your barbecue grill, and prepare your pool or spa.
Inspect Your Foundation
Walk around your home and look for any cracks in the foundation or exterior walls. Addressing foundation issues early can prevent more significant problems down the road.
Check and Clean Your Landscaping
Spring is the time to start your garden and plant seasonal flowers. Be sure to weed, mulch, and water regularly to maintain healthy, beautiful landscaping around your home.
Taking care of these home maintenance tasks can enhance the longevity and comfort of your Orange County home. If you need professional assistance with inspections or repairs, feel free to contact us for expert guidance and service. Enjoy the spring season in your well-maintained home!